
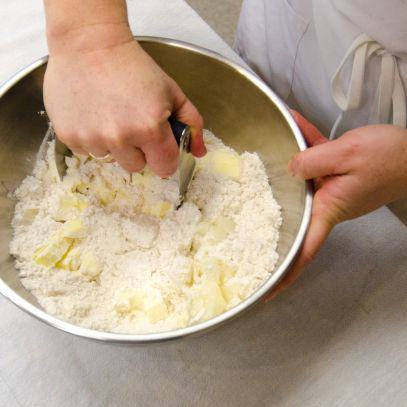
We've promised that our Gluten Free Pie Crust Mix is as easy as . . . well, pie, and we're going to prove it! Follow these step-by-step instructions for a perfect pie crust to hold your favorite filling. If this guide is not enough, check out this video for even more instruction. Got a question? Leave it in the comments and we'll get back to you right away. Step-by-Step Basic Instructions for Pie Crust Step 1 Pour 1 package gluten free pie crust mix into food processor or a bowl. Add 12 tablespoons cold butter and 4 tablespoons cold shortening, cut into pieces. (If you dont have butter and shortening, use 16 tablespoons of either.) If using a food processor, pulse 10 times, 1 second per pulse, and then pour mixture into a bowl. If not using a food processor, cut in butter and shortening using a pastry blender or two knives, until the mixture resembles coarse sand.
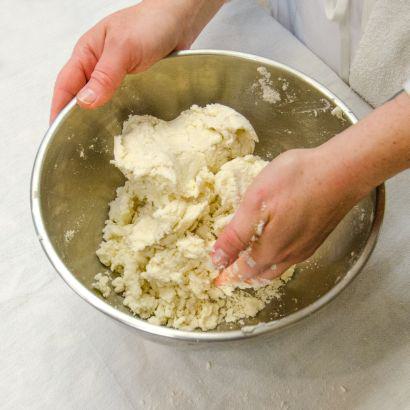
 Step 2 Sprinkle mixture with 6 tablespoons ice water and mix until dough just comes together. Add up to 2 tablespoons more water if needed.
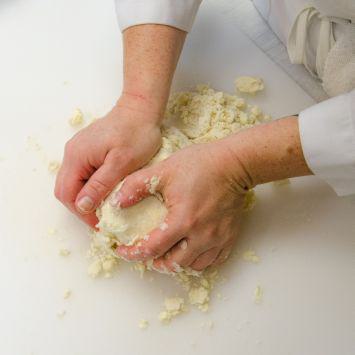
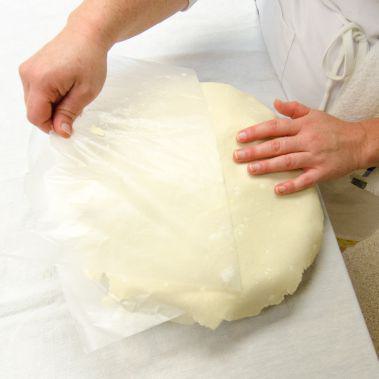
 Step 3 Divide dough in half; press and flatten into discs.
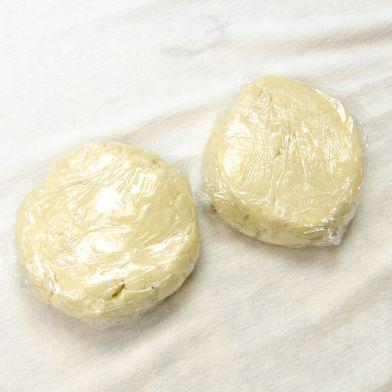
 Step 4 Wrap each disc in plastic wrap and refrigerate for 1 hour.
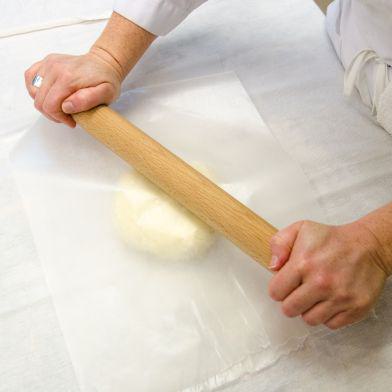
Step 5 Remove dough from the refrigerator. Roll dough into a 12-inch circle between two pieces of plastic wrap.
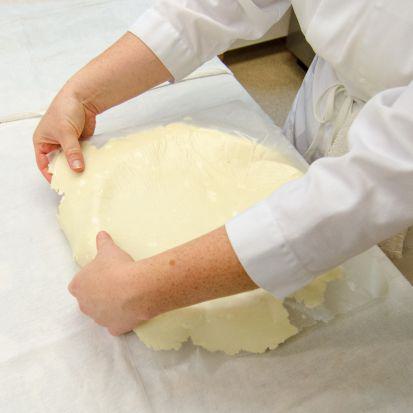
 Step 6 Remove top layer of plastic wrap.

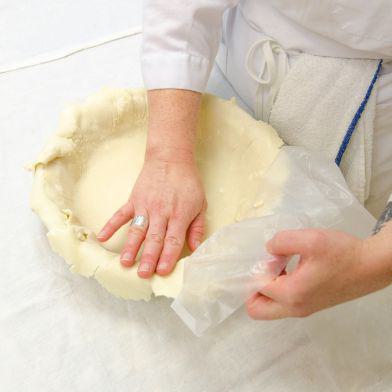
Invert and press dough into a 9-inch pie pan.
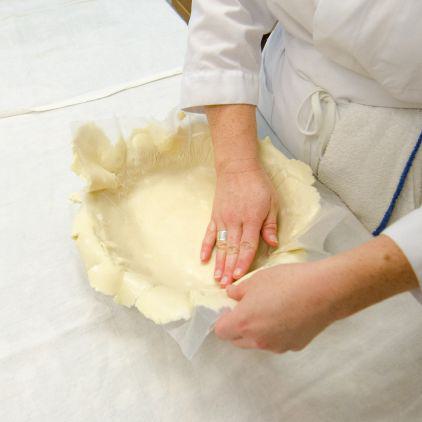
 Remove plastic wrap.
Step 7a For single crust pies: trim and flute edges. Add filling to pie shell.

Step 7b For double crust pies: add filling to pie shell.
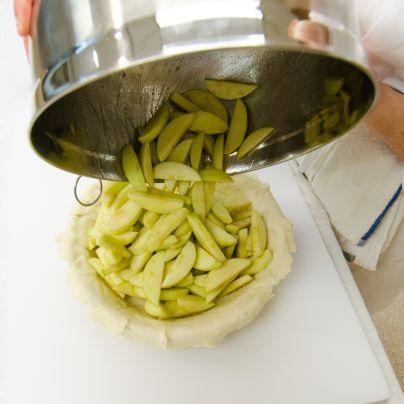
Roll second crust as instructed above. Remove top layer of plastic wrap; invert dough over filled crust. Remove plastic wrap.
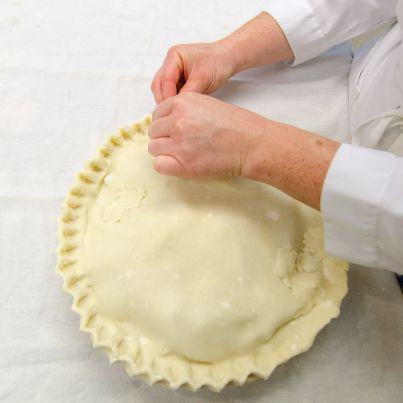
Trim edges, press together, and flute.

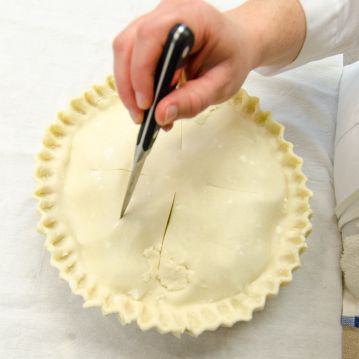
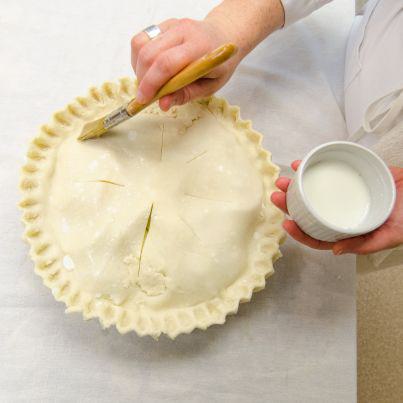
 Cut small slits in top crust.
Brush top crust lightly with milk or egg and sprinkle with 2 teaspoons sugar (optional).
Step 8 Bake according to your pie recipes directions. If not baking both crusts, save the extra dough by wrapping in plastic wrap, sealing in a plastic bag and storing in freezer. The day before using the dough, move it to the refrigerator. Remove from bag but keep keep it wrapped in plastic while defrosting.
