
I am in the midst of working on a recipe that Im not quite ready to share yet. Im excited about it, but I really want to work on it just a little longer. So, while Im working on that one, I figured I would share an oldie but goodie I have that never fails me. This is a recipe that I used to make in our gluten filled days, and so I decided to try it out with Bobs Red Mill Gluten Free 1-to-1 Flour. Just like promised, the flour was a perfect substitute for our gluten filled favorites!  These honey cookies are my go-to spring time cookie. There is a little farmers market that opens up in the spring that my husband and I go to frequently. Every year, the first thing we always buy is local honey from one of the farmers. I love that using different types of honey changes the flavor of these cookies. This recipe is a great base cookie, too, for adding different fillings such as honey sweetened cream cheese or ice cream for a warm weather treat. The cookie is crispy on the outside with a chewy center. They transport well, which makes them a great gift to share when you go to a neighbors house for a barbecue. Also, its likely you already have all the ingredients in your house, so that makes them easy to make last minute. Seriously, make these! I promise you wont be disappointed.
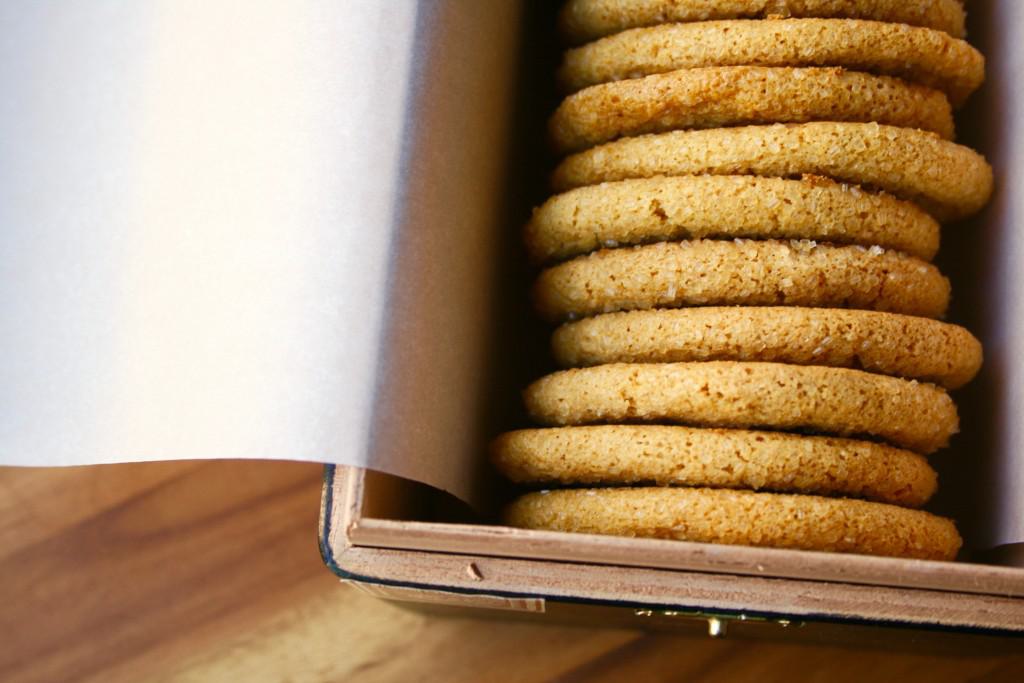
Makes 30 cookies
Preheat the oven to 375F. Line a cookie sheet with parchment paper. In a large mixing bowl, combine the olive oil, sugar, and honey. Mix until combined. Next add the egg and vanilla to the oil mixture. Mix until thoroughly combined and the sugar is dissolved. This will take about 3-4 minutes. In a separate bowl, blend the flour through salt together with a fork to insure there are no lumps. Add the flour mixture to the wet mixture and mix just until combined. Shape 1 tablespoon of cookie dough into a ball and roll it in the turbinado sugar. Place 2 inches apart on a parchment lined cookie sheet and bake for 8 minutes. They should be nicely browned around the edges, crackly and golden. Allow to cool on the cookie sheet for 5 minutes and then transfer to a cooling rack to cool completely.
